

Sublima’s Jiva lacquer: Through Hardships to the Stars
By Andrea Bedetti
I had the opportunity to apply and test a particular varnish designed and produced by researcher and designer Alex Cereda on my audio system. This varnish, applied with the set of brushes included with the product, drastically improves the sound performance of an audio chain. In a lengthy interview, the designer himself explains in detail where to apply the lacquer on the strategic points of the components and cables.
Anyone involved in the field of audiophilia (I know, I know, don’t crucify me for stating that being an audiophile is a hobby when for many it’s a genuine existential mission…) knows very well that to improve the quality of their audio system, it’s not just about acquiring new components over time (and with experience), which enhances the audio chain at the expense of one’s bank account. Rather, relying on a series of accessories, which help the hardware in our listening room to better express its potential, can be a decisive financial aid.
Having tested and purchased countless Hi-Fi accessories over three decades, I could easily open a small museum full of various items in this category. But if I’m honest (and anyone experienced in this field knows this as well as I do), many of the accessories on the market promise a lot, but deliver very little. Fortunately, within this vast sea (full of charlatans), there are exceptions. Among these, in my personal experience, is Alex Cereda, owner of a small Roman company called Sublima. Besides offering power, signal, and speaker cables under the Yasoda series and a unique cartridge called Sakura, Cereda presents a few accessories that he refers to as “necessories”—a term he coined—designed to reveal the true potential of audio systems. Over the years—more than a decade—I have had the chance to try almost all of his accessories, none of which are part of my virtual museum but are instead still “anchored” to my reference system, where they will remain until “death do us part.”
Now, if you have the patience and curiosity to continue reading, I’d like to tell you a modern-day tale, which could have the famous Latin motto as its title: Per aspera ad astra—meaning “Through hardships to the stars.” This title, as you might have already guessed, contains an allegory, as anyone involved in audiophilia knows that to reach the “stars” of a highly satisfying listening experience from your audio system, you must navigate the rough and winding path of “hardships”—often consisting of impulsive and disappointing purchases, endless swearing, and even sleepless nights in the futile attempt to achieve the most “faithful” sound reproduction possible. And, like in every good tale, at some point, a fairy arrives, moved by compassion (as in this case, at the sight of an audiophile on their knees before their system, overwhelmed by frustration and impotence after spending thousands upon thousands of euros, only to hear a sound that, if decent, isn’t much, and if bad, is literally unbearable). The fairy, after adjusting her undoubtedly blue hair, waves her golden wand, resulting in an unexpected “miracle” for the unfortunate audiophile.
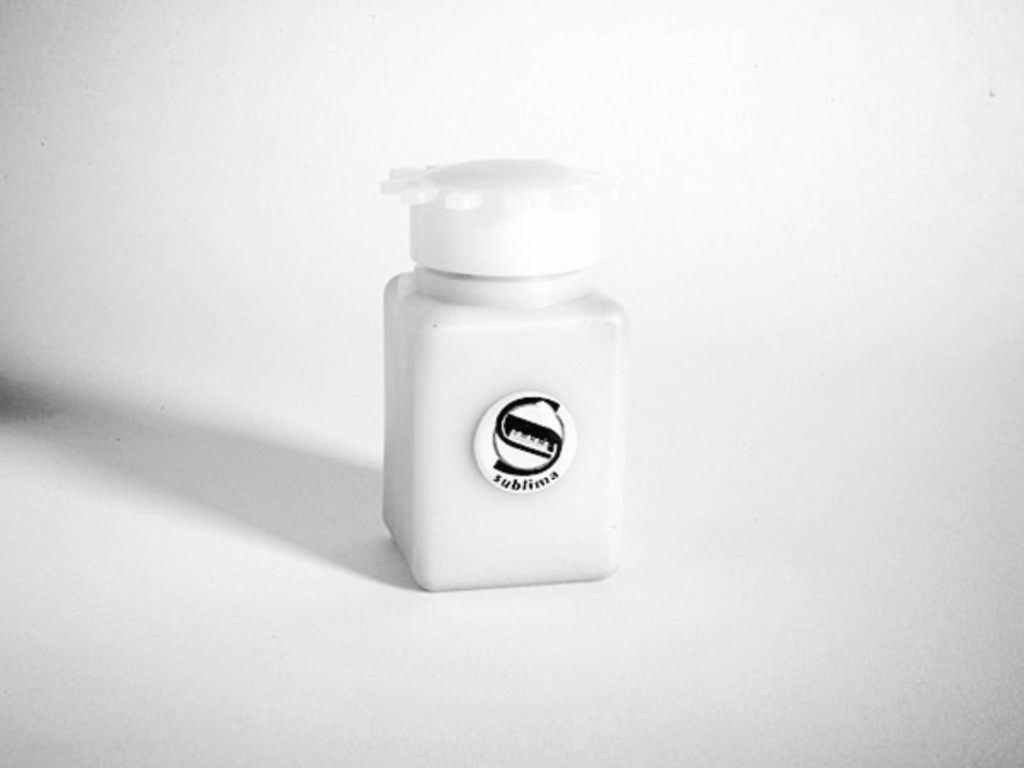
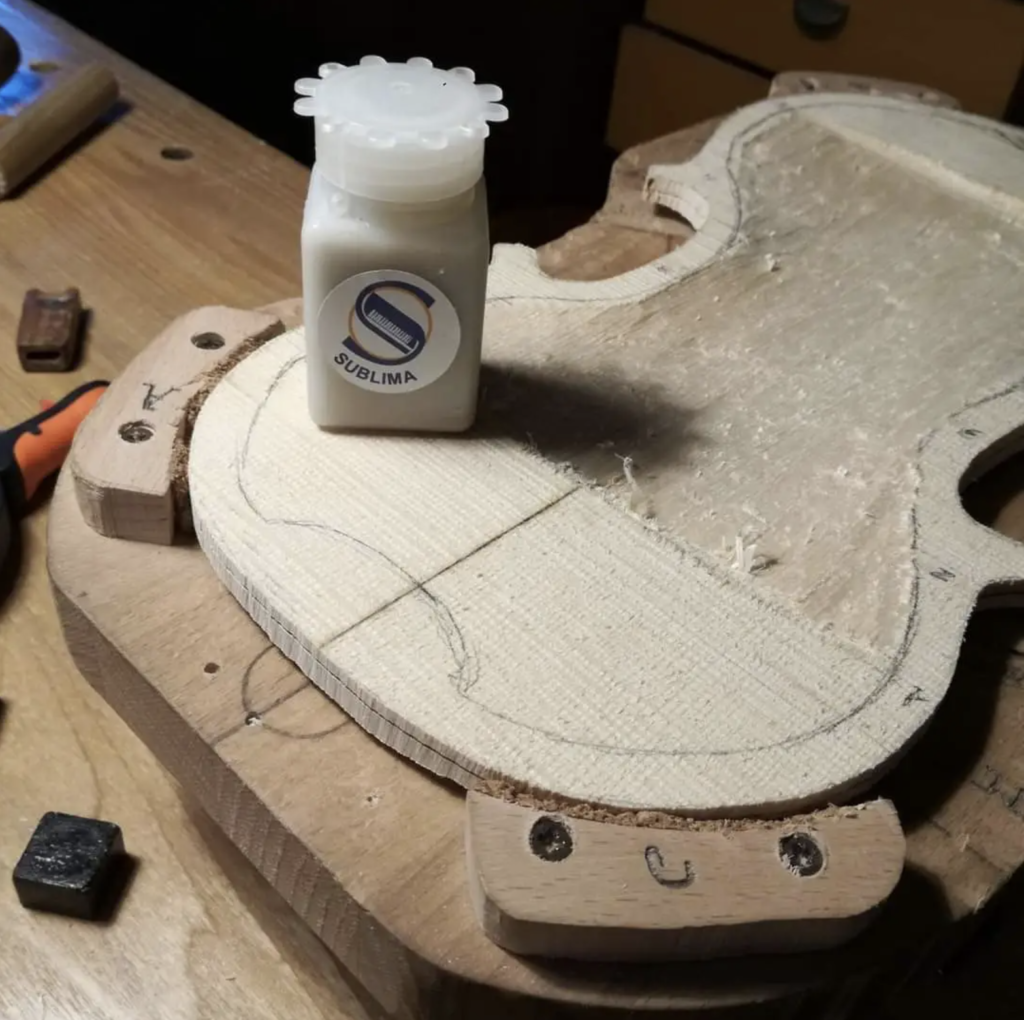
Returning to Sublima’s “necessories,” this “miracle” has a name: Jiva lacquer (and I want to clarify immediately that this lacquer is not used to set the fairy’s long blue hair…). This lacquer, which comes in a plastic bottle with a safety cap, should be applied to various strategic points in the audio chain using a set of small brushes provided by Alex Cereda with the Jiva lacquer. Before I proceed with my tale, let me get rid of the fairy who is starting to protest, realizing she’s of no use, and I’ll move on to discussing the “miraculous” Sublima Jiva lacquer.
The Product
To explain in detail how this lacquer works and where it should be applied, I did the simplest and most obvious thing: I asked specific questions to Alex Cereda, who kindly answered all of them. Below are my questions followed by his responses, as if in a proper interview, where the protagonist is Jiva. According to the brief presentation on the Sublima website, Jiva is a “non-conductive electromagnetic interaction/absorption varnish composed of various mineral and plant elements ‘activated’ by a proprietary process that ensures permanent effectiveness.” One last piece of advice: if you want the best results, follow the instructions and tips from Sublima’s owner to the letter. I did, and I can guarantee that my reference system, as I’ll explain at the end of this article, now, as Dante’s Inferno concludes, has returned “to see the stars again.”
Q: Alex Cereda, what motivated you to create this particular lacquer?
Cereda: “The creation of Jiva is fundamentally one of the outcomes of my years of audiophile research. This research has its roots in the time when I worked in the television industry, where I noticed particular electromagnetic phenomena that severely affected both video and audio quality. Unfortunately, when I discussed this with my colleagues in an attempt to address the issues, I quickly realized I was hitting a brick wall—nobody was willing to analyze these damaging aspects.
I continued studying these phenomena over the years, particularly when I founded my company at the beginning of the new millennium. Plus, ever since childhood—because of my family—I’ve always had a great interest in minerals (my family included mining engineers, and we owned a quarry).
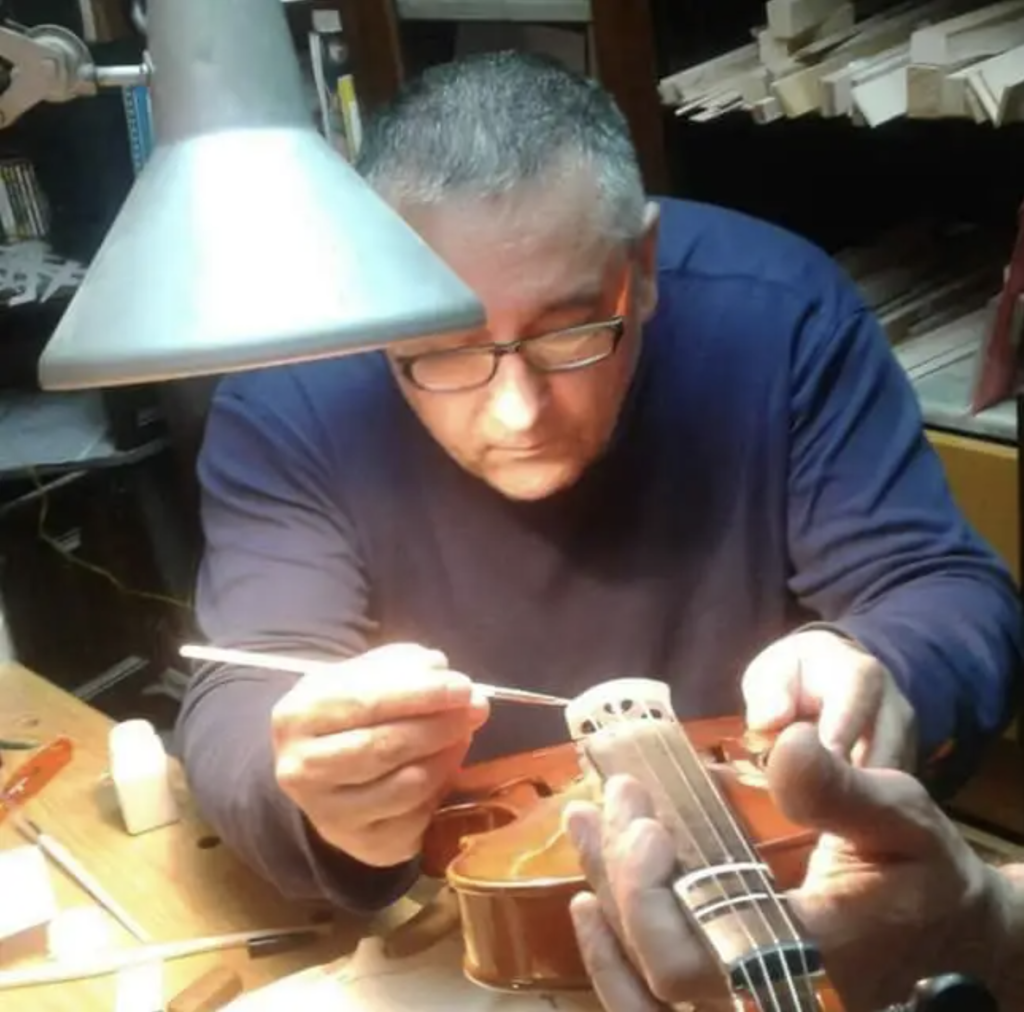
When I finally entered the audio world, bolstered by some experiments and my connections with technical experts and researchers, I realized, more and more, that we only hear a portion of what is actually recorded. This is because the electromagnetic phenomena distort the sound. This led to the creation of the first varnish I developed after various experiments and trials, which was initially applied in the field of violin making before being adapted for electronic devices. Jiva lacquer is an evolution of that first varnish, refined and improved over the years to be used in audio reproduction, addressing the electromagnetic disturbances I’ve mentioned.”
Q: On what principles does this lacquer work? What “ingredients” is it made from?
Cereda: “First, I need to explain an important concept. An audio phenomenon, like many others, is created by the interaction of two elements that depend on each other for existence. This means that a ‘positive’ element, such as the information in the audio track, coexists with a ‘negative’ element, i.e., interference that inevitably affects the fidelity and quality of the sound. To address this, many have tried to create shielding to isolate the ‘positive’ from the ‘negative.’ While this might work externally, it cannot be as effective inside the device or cable because the interfering element already coexists with the ‘positive’ element. For example, if shielding protects against external interference, it can exacerbate problems inside the system, much like trying to play tennis in a small room—you’ll constantly hit the ball against yourself with no space to play properly. Thus, the audio signal doesn’t travel freely because it’s disturbed by an array of electrical, magnetic, and mechanical disturbances, all of which interact in ways that compromise sound reproduction. Yet, simply suppressing these disturbances could create further issues. Therefore, the solution is to interact with them rather than suppress them.
Through years of study and experimentation, I developed special pigments made from mineral and plant-based materials (Jiva lacquer is made up of about thirty different components). These pigments are processed in a laboratory using machinery that pulverizes them, ensuring they’re decontaminated of anything that might reduce their effectiveness. They are then mixed with two particular adhesives—one of which is natural, used in specific restoration processes. However, the lacquer isn’t ready yet—it must be ‘activated.’ What does this mean? The lacquer’s components need to be charged through a specific process, without which they remain passive, operating inefficiently. The activation process ensures the lacquer’s effectiveness lasts for decades. The more efficient the activation, the longer-lasting and more potent the lacquer becomes.” This is why, over the years, by improving the “activation” process, I’ve been able to improve the Jiva by thirty to forty percent, not only in terms of power, but also in terms of duration.”
“Based on these minimal indications, it is obvious that its creation takes a lot of time and various phases, some of which are expensive, not to mention that this activation process also requires a ‘maturation’ period for the lacquer. Therefore, I always prepare batches of this product in advance because, if I don’t have any available and a client calls me because they need it, I can’t, for the reasons I just described, make it on the spot. One last very important thing: the activation process is essential because only through it can the interaction with electromagnetic phenomena be effective. Keep in mind that, obsessed as I am with measurements—since only these allow me to understand whether or not the lacquer is effective—I often measure samples of Jiva dating back to 2000, almost a quarter of a century ago, which still prove to be fully active. In light of this, I feel confident in saying that the activation process I use allows Jiva lacquer to remain effective for decades.”
Q: On which surfaces, devices, and other components can Jiva be applied? And regarding valves, can it be applied to them as well?
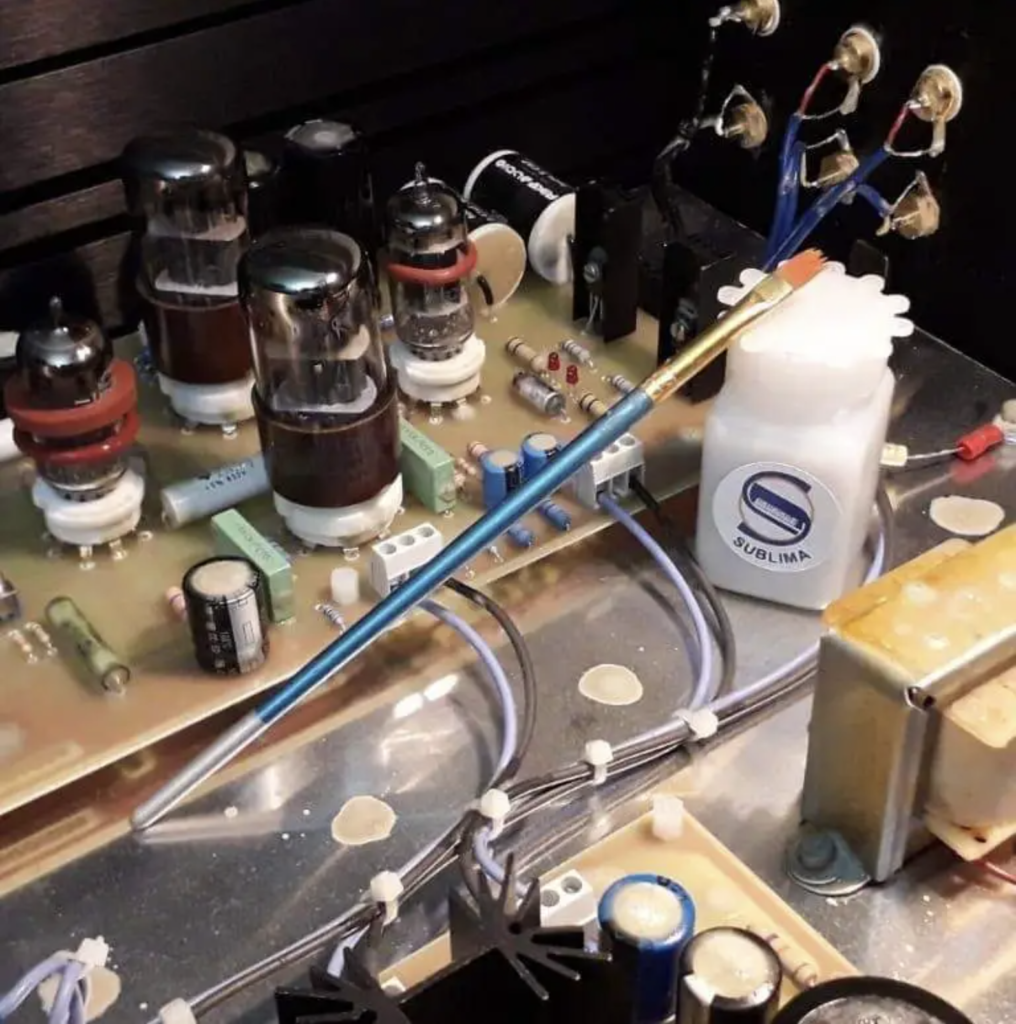
Cereda: “I can confidently say that Jiva must be applied, using the small brushes included in the sales kit, to any element of our system, on any material, whether it’s insulating, conductive, or semi-conductive. Therefore, we can use it, for example, on all components of our system—capacitors, resistors, transformers, coils, connectors, cables, even on the sheath of the cables—besides being incredibly effective in soldering, as the lacquer practically ‘quenches’ those galvanic microcurrents present in tin, brass, copper, and zinc when they are soldered. That’s why the lacquer firstly produces a very natural sound, while also retrieving a greater amount of sound information, thereby creating greater harmonic richness. Furthermore, Jiva is not hygroscopic; it doesn’t absorb the moisture in the environment, which further protects the elements it is applied to. Another very important tip is to always apply two coats of lacquer on the same area being treated: the first coat provides a slight ‘primer’ layer, allowing the second coat to better deposit the active materials. It should also be applied to the frames, both externally and internally: just a drop, which then spreads and takes the size of a one-cent euro coin, is enough for it to act like a ‘sponge,’ ready to absorb the harmful charges infesting them. Don’t forget that Jiva, being non-conductive, can be applied to an entire circuit. This thorough operation on the whole chain allows you to hear a sound that is cleaner, fuller, and with greater extension in both the high and low registers. Lastly, you asked me if Jiva can also be applied to valves. In this case, it is more than recommended because the result is truly incredible! In fact, do this experiment first: apply the lacquer to the valves of just one channel. What will happen? The sound coming from that channel will be stronger, richer, more dynamic, more natural, and more real compared to the other channel, whose valves haven’t been treated yet. One more tip: first treat the preamplification valves and then the power valves.”
Q: Besides the lacquer, you also include a set of small brushes in the package. How should they be cleaned to avoid damaging them?
Cereda: “First of all, I don’t recommend using trichloroethylene or other solvents to clean them, although nothing serious will happen if you do. After using the lacquer, if you place the brush under running water, you’ll notice that the binding agents, which are not aggressive, will dissolve. So, just use a bit of water and gently flick the bristles with your fingers to make the remaining content vanish. The brush will return to neutral without any contamination. Why shouldn’t you use solvents? It’s simple: cleaning the bristles with trichloroethylene or similar products will inevitably leave some residue on the brush. When you dip it back into the lacquer bottle, those traces of solvent will mix with the Jiva. To be clear, if this happens once or twice, the lacquer won’t be affected, but if solvents are used to clean the brushes every time, and then they are dipped into the bottle, there’s a serious risk of progressively altering the lacquer, which would slightly diminish its effectiveness.”
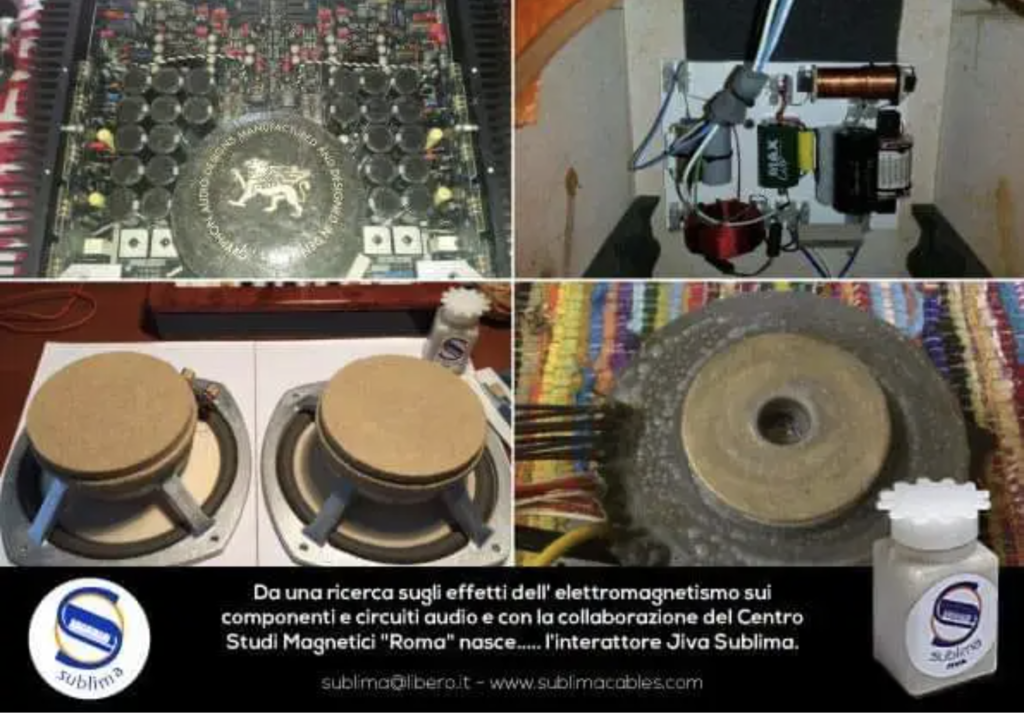
Q: Are there any areas where the lacquer shouldn’t be applied?
Cereda: “There are no elements where Jiva cannot be applied because it brings improvements wherever it is used. I challenge anyone to prove that applying it anywhere doesn’t have an effect, perhaps minimal, but always resulting in a benefit and an improvement, provided—and this is very important—that you wait for the lacquer to dry completely, so it remains non-conductive. I’ve even applied it inside transformers, and since I’ve had no shortcomings or issues with transformers, I believe there won’t be any problems with any other component. I’ve applied it everywhere: on the outside of power distributors, inside transformers, on capacitors, resistors, coils, frames, conductors, on soldered electrical joints, on insulators, on cable sheaths, on turntable motors, inside CD players near the laser assembly, on conversion chips, especially. It can be used anywhere, except for drinking it. It may sound like a joke, but it’s true. Once a client asked me what would happen if his child drank it, insisting that a material like this shouldn’t be left within reach of a child! So, no, I don’t think anyone should be attaching themselves to a Jiva bottle—that’s not the use for which I designed and produced it!
Lastly, beyond the world of audio reproduction and electronics, Jiva is also used in car engines, as it’s applied to racing cars. I believe I have two or three clients who have used it where the distribution of spark plugs, coils, or control units is located, obtaining interesting results.”
Q: So, over time, Jiva does not lose its characteristics and beneficial properties?
Cereda: “I confirm this once again. Over time, Jiva lacquer absolutely does not lose any of its characteristics, as long as it is not painted over—so no other paint or liquid is poured on it, because in that case, it would become contaminated, thus losing its effectiveness. I will go even further, in light of the continuous tests and measurements I’ve conducted: I can now guarantee it lasts forever, given that I have proof that after 20 years, it remains completely unchanged. Not to mention that my initial design for Jiva, over 20 years ago, was much simpler, while today’s version is more sophisticated and complete, making the current Jiva even more powerful and effective. So, as long as no particular alterations occur and it is not contaminated for the reasons I’ve already explained, this lacquer doesn’t act like a battery that depletes, but rather as a product that is ‘activated’ through a process that I’ll have a chance to explain in more detail once all patents are finalized.”
Q: After years of experience with this “necessity,” what advice can you offer to enthusiasts to maximize its effectiveness?
Cereda: “I’ll take advantage of this question to provide a sort of summary, offering the most precise and targeted advice. The first fundamental tip is to apply at least two coats; don’t stop at just one, because with the first coat, the pigments tend to settle and have a more subdued effect, even though you’ll already notice an improvement in sound performance. With a second coat, however, the effectiveness increases exponentially, as the pigments from the second coat bind to those of the first (and a third coat can also be beneficial). Then, which components or parts should be treated first? Well, experience has taught me that the first thing to do is apply the lacquer to the connectors, both those inside and outside the frames, whether they are input, output, balanced, or unbalanced connectors. Next, you should apply it to the plugs, even if they have plastic or metal casings, adding a few drops of lacquer, always remembering that Jiva must be applied while the equipment is strictly turned off, and making sure not to turn it on until the lacquer has completely dried. Then, you can move on to the solder joints, as I’ve already mentioned, and the external parts of the frames, followed by the signal and power cable sheaths, and the connectors on the speakers. If you have them, apply the lacquer externally on the valves, on their bulbs, as well as on the grounding wires of turntables and the base of the tonearms, even on the edges of compact discs. The general rule, especially when you have a large audio system, is to take a little by little approach to applying it, as this allows you to better understand how Jiva’s benefits and effectiveness impact the entire setup.”
Q: Speaking of turntables, you didn’t include the cartridge in your list of components. Can’t Jiva be used there?
Cereda: “On the contrary, the results on turntable cartridges are nothing short of outstanding! The issue, and I’ll clarify this right away, is that applying the lacquer to the cantilever is not easy and requires an absolutely steady hand! So, this is an operation that each person undertakes at their own risk. For example, I use a Jiva with a different density, specially formulated for this type of component, which is not for sale. Additionally, I have at my disposal a digital microscope, an analog microscope, a powerful magnifying glass, and special tools that I had custom-made for this purpose. Now, I will explain in detail how to apply Jiva to the phono cartridges, and if these instructions are followed precisely, there won’t be any issues. These are the same instructions I have already given to several of my clients, and as far as I know, none of them have had problems or sustained any damage.
So, to recap, shake the bottle well and pour a very small amount of lacquer into a small container. Mix the Jiva well without creating bubbles, dip the tip of a toothpick without soaking it, so it doesn’t drip during this delicate operation. The lacquer should remain solely on the exterior of the cantilever, both on the lower and upper parts. I repeat, the amount of Jiva to use should be very minimal, making sure it doesn’t seep into the cartridge body! Naturally, to perform this operation, the cartridge must first be removed from the tonearm, taking care to place it in a horizontal position to prevent the lacquer from coming into contact with the coil. Keep in mind that if you want a more thorough and systematic process, I can have the cartridges shipped to me by anyone interested, so that I can treat them in my lab with my specific Jiva formulation for cartridges.”
“The first thing you need to do is to get at least a good quality magnifying glass. Then, in this case, you shouldn’t use brushes, at least not the ones I supply, but use a very fine one, the kind used in model-making. If you don’t have a brush of this type, you can safely use a wooden toothpick. The area where you should apply a small amount of Jiva is on the underside of the cantilever, the part underneath where the diamond is located, obviously making sure that the lacquer does not touch either the diamond or the stylus! You only need to apply it lightly on the underside, regardless of the material it’s made from, whether it’s boron, aluminum, or any other imaginable alloy. Due to the constant vibrations caused by the rotation of the disc, surface charges form on the cantilever, which consequently cause micro-distortions. Moreover, it’s important not to forget — and I mention this to make it clearer how delicate the reading of a phonograph cartridge is — that, in addition to these charges or currents, others are generated, caused by the so-called ‘capacitive biscuit’ created by the cartridge, which is a mechanical/electrical transducer. This means, as I have outlined in one of my technical/scientific studies titled PSC Phantom Signal Correlator, that due to the inter-electrode capacitance, the signal being captured becomes compromised. This manifests itself as contrary vectors between the vinyl and the turntable’s mass, generating interference signals. In short (simplified), it behaves like a variable capacitance oscillator. By applying Jiva to the cantilever, the lacquer absorbs these types of surface charges, allowing the stylus to be much faster and more neutral, enabling it to capture sound information more faithfully. Thanks to Jiva’s action, the stylus penetrates deeper into the groove, reproducing the low and high frequencies with greater fidelity, fullness, and naturalness, making the sound timbre more natural.”
Q: Finally, what is the retail price of a bottle of Jiva lacquer, including VAT?
Cereda: “The final price of the Jiva is 290 euros, including the brush set. At first glance, it might seem expensive, but it’s not; in fact, it’s quite reasonable considering the effect it has on the system, as anyone who buys it can verify. The quantity is 50 ml, more than enough if well distributed. Another important detail is to shake the bottle vigorously and for a long time before applying the lacquer, then pour a minimal amount of the product into a small cup or container, and mix the Jiva with the brush just before applying it to the selected area. If the application process exceeds twenty minutes, it’s advisable to continue stirring the poured lacquer and shake the bottle again if you need to add more. By following these precautions, you’ll notice that the lacquer will begin to lighten, facilitating the activation process of the pigments.”
The Listening Test
I won’t hide the fact that to follow Alex Cereda’s Jiva instructions to the letter, applying the lacquer point by point to the relevant components of my reference system and waiting for it to dry completely took me ten days, including the various listening sessions. It was during these ten days that the title of this article came to mind, as during this period, coinciding with the progressive work done by the lacquer, my system’s sound changed time after time, bringing me progressively closer to the stars. Since I’m the type of person who calls a spade a spade, I want to be even clearer: listening to those reference records, both digital and analog, which I know like the back of my hand — even better, in fact — I wondered how many times an audiophile or a music lover, dissatisfied or unconvinced by the sound of their audio system, decides they need to change a specific component, make an expensive cable upgrade, continually adjust the angle of their speakers, or come up with other schemes to get a more realistic, true-to-life sound. Of course, each of us, as the categorical imperative of Kantian memory states, is the master of our own destiny and, therefore, our own choices. But if you want my honest advice, based on those ten days of applying the lacquer to all the points recommended by Sublima’s founder and the subsequent listening tests, before draining your bank account, buy a bottle of Jiva lacquer and do as I did.
As for the benefits my system has achieved, I can only say that now the sound coming from the speakers breathes. I know, it’s a strange term, a strange comparison, but it’s the only way to explain the total, global involvement that has enveloped all the components and cabling of the audio chain. Greater transparency, a naturalness of tone for both voices and instruments that wasn’t there before, faster transients that now allow you to better appreciate the magic of the bow attacking the strings, the quicker decay of harmonics in brass and percussion, and, above all, the three-dimensional physicality of the space where the sound event took place, whether live or in the studio, becoming more palpable, as if it suddenly materialized in my listening room. This is why, to summarize all these changes, the common denominator, the only term that connects them all, is the sound of music finally breathing.
Conclusion
Usually, the conclusions at the end of an article analyzing an audio component or accessory should weigh the pros and cons of the product in question. In this case, at least as far as I’m concerned, this is one of those very rare cases where conclusions are entirely unnecessary, as there are absolutely no cons to report based on what I’ve observed. No side effects, no disappointments in comparison to what Alex Cereda claimed, no exaggeration that could refute the results obtained. The only thing that requires attention, and this doesn’t depend on Jiva lacquer itself, is the careful handling of the turntable cartridge, but that’s entirely up to whoever decides to perform the operation under their own responsibility.
For the rest, I can only add my final impression: given such a result, 290 euros is really nothing. I am confident that no one will tell me otherwise.
Andrea Bedetti
- Jiva Lacquer by Sublima of Alex Cereda
- A 50 ml bottle and brush set: 290 euros including VAT
- Sublima Audio Research – Rome
- E-mail: [email protected]
- Website: http://www.sublimaresearch.com
- Mobile number: 3475800299
- Facebook: Sublima Audio Research


